Monday, October 15, 2018

Drilling Tetrix...


So if you have Tetrix and GoBILDA you've notice that the bolts are different sizes and its probably a pain keeping all the different wrenches and bolts. Well today I experimented drilling some Tetrix to attach a GB tapped servo mount, it went really well. It is essential to be able to drill these holes out to use some of GB parts (servo mounts, screw plates), anything that has threaded holes that you want to attach to Tetrix. This turned out really well, the GB holes are really close to 4mm, the English drill sizes that will make holes suitable for butting the GB bolts through are #22, #23 and 5/32. I used a 5/32 and it worked flawlessly and was a good fit (not too loose).

You can see in my picture that the top 8 pattern tetrix has been modified, 4 of the holes have been drilled out to accommodate GB bolts. The hole sizes are extremely close already (1/5th mm in diameter)  so I don't think there is a problem of actually drilling out ALL of Tetrix channel and pieces etc. to allow for easy mounting all the time, not just when using a tapped feature. As I said before, this would make it so you are using almost all the same bolt and wrench sizes with the exception of maybe motor mounts (you can drill them out too but you would need long m4 bolts). Also for those worried of ruining their tetrix, 6/32 bolts still fit through the enlarged holes and can be used to build a solely tetrix bot.


All about Servo Mounts

Today's mission involved getting friendly with GoBILDA's servo mounts and new servos. Before getting started on how to mount these to Tetrix I want to give you a couple of reasons to consider the GB servo's and mounts over the Tetrix ones as I feel they are superior. Flat out the mounts are more sturdy, easier to attach/detach, offer more positions for mounting, and also allow for the use of servoblocks which allow for servos to become a main feature of your robot because they can handle heavy and especially lateral loads easily. In terms of servos lets take a look at the servo specs of a couple regular hiTech servos, if you would like to look at this info here is the link: https://www.servocity.com/hitec-servo-chart.

Comparing the Servos

So the 2 most common servos I used were 485HB's and 645MG's for light and heavy loads respectively. The 485 costs $17 from actobotics and has 83 oz-in torque @6v(rev hubs don't supply 6v you need the power booster). The 645 is $30 and offers 133 oz-in torque (@6v)
Lets take a look at thee GB servo: its $24 has 200 oz-in torque @6v, faster angular rotation, and all metal gears. In addition it can be converted to a continuous rotation servo with a programmer(Hitech requires a totally different servo). So with almost a huge jump in torque from the 645 as well as lower price and the ability to convert to a continuous rotation servo I think these are the best buy for teams! Keep in mind you will need different horns as the number of splines is different between hitec and GB(futaba spline) Also both GB and Actobotics offer 25% discounts for FTC teams.

Servo Mounts

I have one servoblock from Gb as well as the other mounts available so I decided to look at how they can be interfaced with Tetrix.
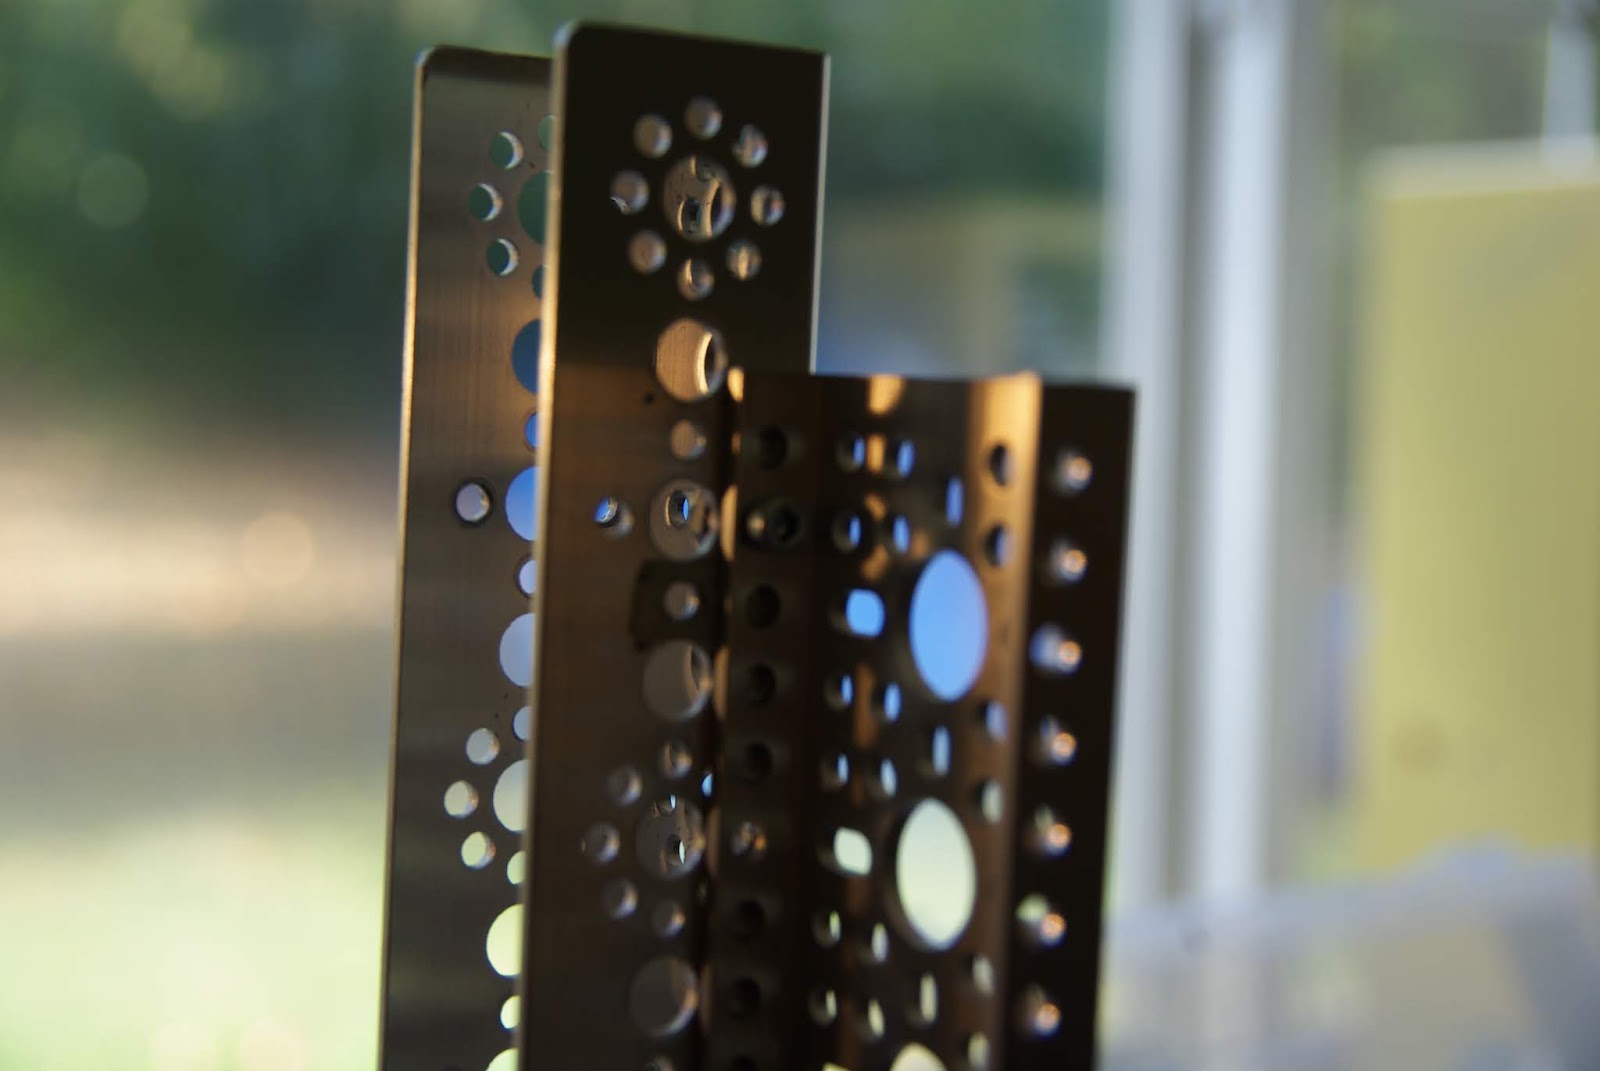
ServoBlock Mounting

The servo blocks didn't mount quite as easily as I had hoped but it is still very possible to use them. The easiest way to mount them appears to be using the side plates that have an 8 hole GB spacing, this lines up with Tetrix vertically and horizontally, from my picture you can see one way in which it can be mounted, you can simply move and rotate to the other holes for the other mounting options. 


 The stock base plate is quite hard to mount as the side holes aren't far enough away from the servo to mount to edge tetrix holes. however I found that the two end holes can be mounted to the tetrix as shown, however you must use larger washers or smaller bolts to keep the servo mounting bolts from interfering with the Tetrix. (See right)

I want to point out that servoblocks could be built upon these plates as well. This picture shows how the top assembly would easily move between the mounts. This allows for easier mounting of servoblocks.
(See Left)


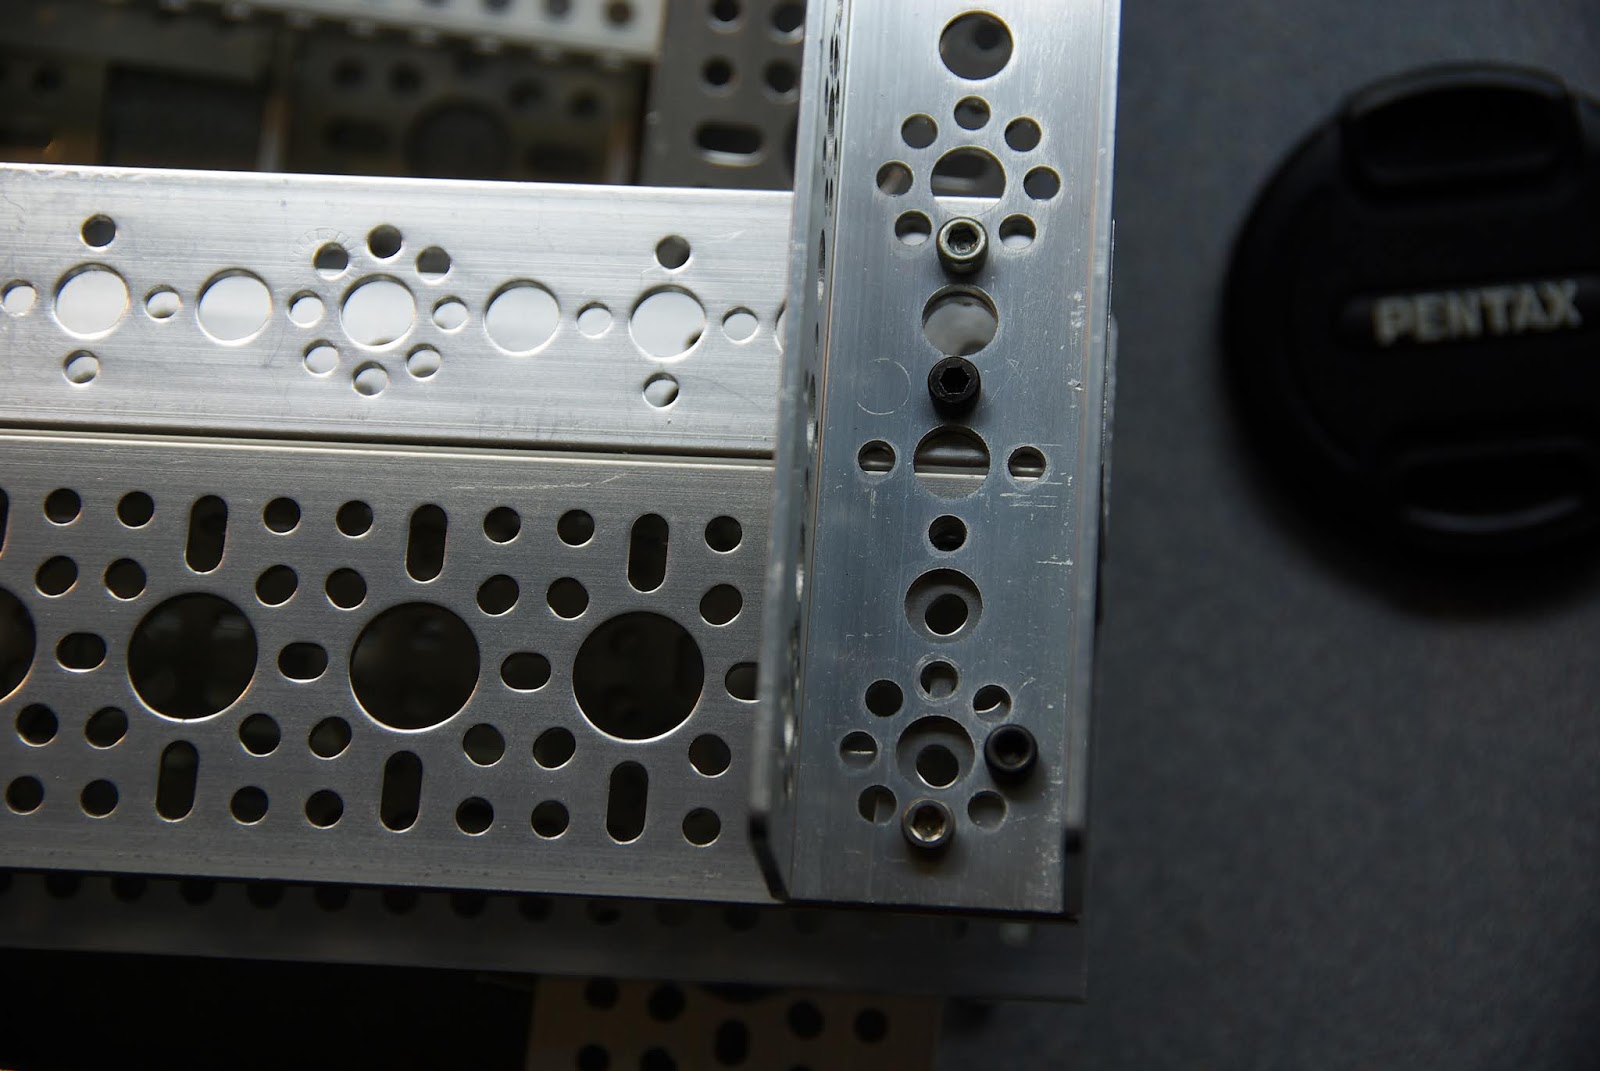
Here are some pics of how the other mounts line up. The one with the GB pattern off the end of it is extremely easy to mount as it is just like mounting any piece of GB channel to Tetrix, it lines up in almost every way you want. The other tapped mount is a little more difficult, because M4 screws don't fit through Tetrix. My next post will show you how to remedy that!


Friday, October 5, 2018

Face mounting Tetrix to GoBILDA Channel and vice versa

Today's post is about face mounting these two channel types together. It turns out that this is very easy two do with both systems, first I'll show the Tetrix to GB(goBILDA). This uses the small "u" brackets that fit within the end of a Tetrix channel. I found that it was sometimes difficult to reach come of the bolts due to the small channel size. However, the good news is that it is super easy to find a spot to attach them, you can see that the channel can be attached so it is flush with either edge of the GB or centered, Each mounting option provides space for at least 2 bolts to attach. This is repeatable every 8mm on the GB channel. The one catch is that you can't center a Tetrix channel if you are centered on a GB 14mm hole, you must align one edge flush with the GB channel. In that case you could use flat brackets on top of the channel with angle brackets on another face.


Now the GB is also easy to face mount to tetrix using their quad block mount adapters. There is a variety of ways it can be attached my pics show most ways, once again you can have flush edges or centered and horizontal adjustment based on the 8-hole to 4-hole spacing:


Thursday, October 4, 2018

Attaching Channels parallel

This post is to show how GB(goBILDA) and Tetrix channels can be attached parallel to each other. My pictures are primarily full U channel but the pattern is the same with the low side GB channel as well. There are several ways in which channels can be attached depending how you want the end product to turn out, you can make it so either edge is flush or so that it's centered. There are more ways to connect than pictured here by extending the Tetrix edge  even further off the GB channel, however I didn't think that was going to be extremely common so I did not photograph it. The ability for the faces to line up flush it amazing it makes interfacing other components much easier! Here are some pictures that emphasize where the patterns overlap.

My apologies, formatting the pictures on blogger is near impossible, 
However in the picture below I accidentally put a bolt through the wrong hole
it should be vertically down one more tetrix spacing.

This simply shows how to channel could be bolted together and then another channel interface on top of them easily

Channel 3-way intersections


So another valuable thing I have discovered with these two systems is the ability to join 3 pieces of channel in a very secure fashion. From what I know it appears that this can be accomplished at any location on the GB(goBILDA) channels. The ability to join channel like this is essential to build a sturdy robot. In my experience, we had connections like this every year and they really helped make our robot rigid. Also it is important to note that these type of connections serve a great point to convert a GB drivetrain to a Tetrix, you can see in my pictures how this could be accomplished. This is by no means the only hole spacing way to do this, depending on which spacing your cross beam is you can bolt on in different ways. Essentially by adding upright Tetrix pieces and channel you can covert entirely back to a Tetrix spacing while maintaining a GB drivetrain with bearings. Then if you need to add a supported axle again you can throw on some low-U GB channel with bearings right on to Tetrix (this will be covered in another post). Anyways pictures are worth 1000 words so maybe this helps spark some ideas:


This last pic shows adding a GB channel in the same fashion, it bolts on just as easily.

Tuesday, October 2, 2018

Basic Pattern Overlap: Channel

Okay so I figured I'd start with the most obvious parts of Tetrix and GoBILDA, Channel. I was pleasantly surprised to see that they are EXTREMELY compatible! I had already built a GoBILDA frame just to see how sturdy it was and get the feel (it was extremely sturdy).
The first piece of Tetrix I pulled out happened to fit right between the frame I had built using GoBILDA. This is cool because that means the overall channel length are the same for likely several different lengths. You can see what I mean in this picture. This was just a quick test, I'm still thinking of how you can bolt it together, I pulled out a couple of my 90* flat steel brackets and they fit well on the top. However you need to put a channel piece or l bracket it the corner to make it sturdy.

Next I tried bolting a longer bar straight across the top, keep in mind that this is a Tetrix piece being put on a completely GoBILDA spaced frame. This is what it looks like. These are 18" Tetrix beams I believe but the bolt interfaces I discovered will carry down to the smaller pieces of channel as well. I will summarize my findings for attaching Tetrix Channel perpendicular to GB(goBILDA) spacing. This is easily accomplished. From my tests you could attach the Tetrix beam every 8mm along the GB channel(that's GB grid spacing). However, you use different holes depending where on the pattern you are. In addition Tetrix has the 8-hole, no-hole, and 4-hole pattern spacing, depending which of those is on the spacing it also changes what holes can be used. I photographed it in two ways, as you can see my bar doesn't go flush across my frame. Another thing to point out here is that the ends of Tetrix go flush with the GB when bolted on. Also for reference I am using 6-32 bolts to fit through the holes, this is necessary because Tetrix is designed for this size. Here are the pics:


As you can see each configuration of the beam allows at least 3 bolts to be added! I think this is great, it makes it very easy to adapt from say a GB drivetrain that takes advantage of easy motor mounts and bigger axles/bearings but uses the compact size of Tetrix to build the robot up from that.
I will follow up with showing how you can add vertical Tetrix to this easily and how to attach Tetrix parallel to GB.